How to Watercolor 12 Colorful Rainbow Borders
Today I’ll be sharing with you how I created these 12 colorful rainbow borders using watercolors.
These were created to be background pages for a friend’s scrapbook project. Once the pages are complete with photos and text, they will be slipped into the sleeves of a scrapbook.
I was given the freedom to paint whatever I wanted, so I started out thinking I would paint a full page wash and the photos and other writing could be placed on top of the background. But after I tested it, I just felt too busy. Like the background painting and the photos were competing with each other.
Ultimately, I decided borders would showcase the content much better and I wanted to make it flexible so the pages could be used in any order and for any month of the year so I decided on rainbow colors rather than holiday or season-themed pages.
These borders could be used for other projects like backgrounds for lettering or even for DIY cards. So if you want to try making these for a project of your own, read on for supplies and steps along with a video of the painting process!
Supplies
Watercolor Paper (I used Kilimanjaro, but any good 140lb 100% cotton watercolor paper will work)
Masking Tape (like this)
Paints & Palette (I used this Mijello Mission Watercolors Set)
A brush (I used a Princeton Heritage Series Size 12 Round)
Ruler/Straight Edge
Pencil
Hardboard Panel (to catch paint splatter off the edges while painting)
Process
Here’s a quick overview of the process I used to make my borders.
Step 1: Trim paper to desired size
(mine were 11”x11” approx.)Step 2: Draw the border
Lightly draw with a pencil and a ruler where the inner edge of the border will be.Step 3: Mask off border
Use masking tape to mask off the border. Remembering to keep the masking tape on the inside edge of the pencil line (towards the center).Step 4: Paint the border
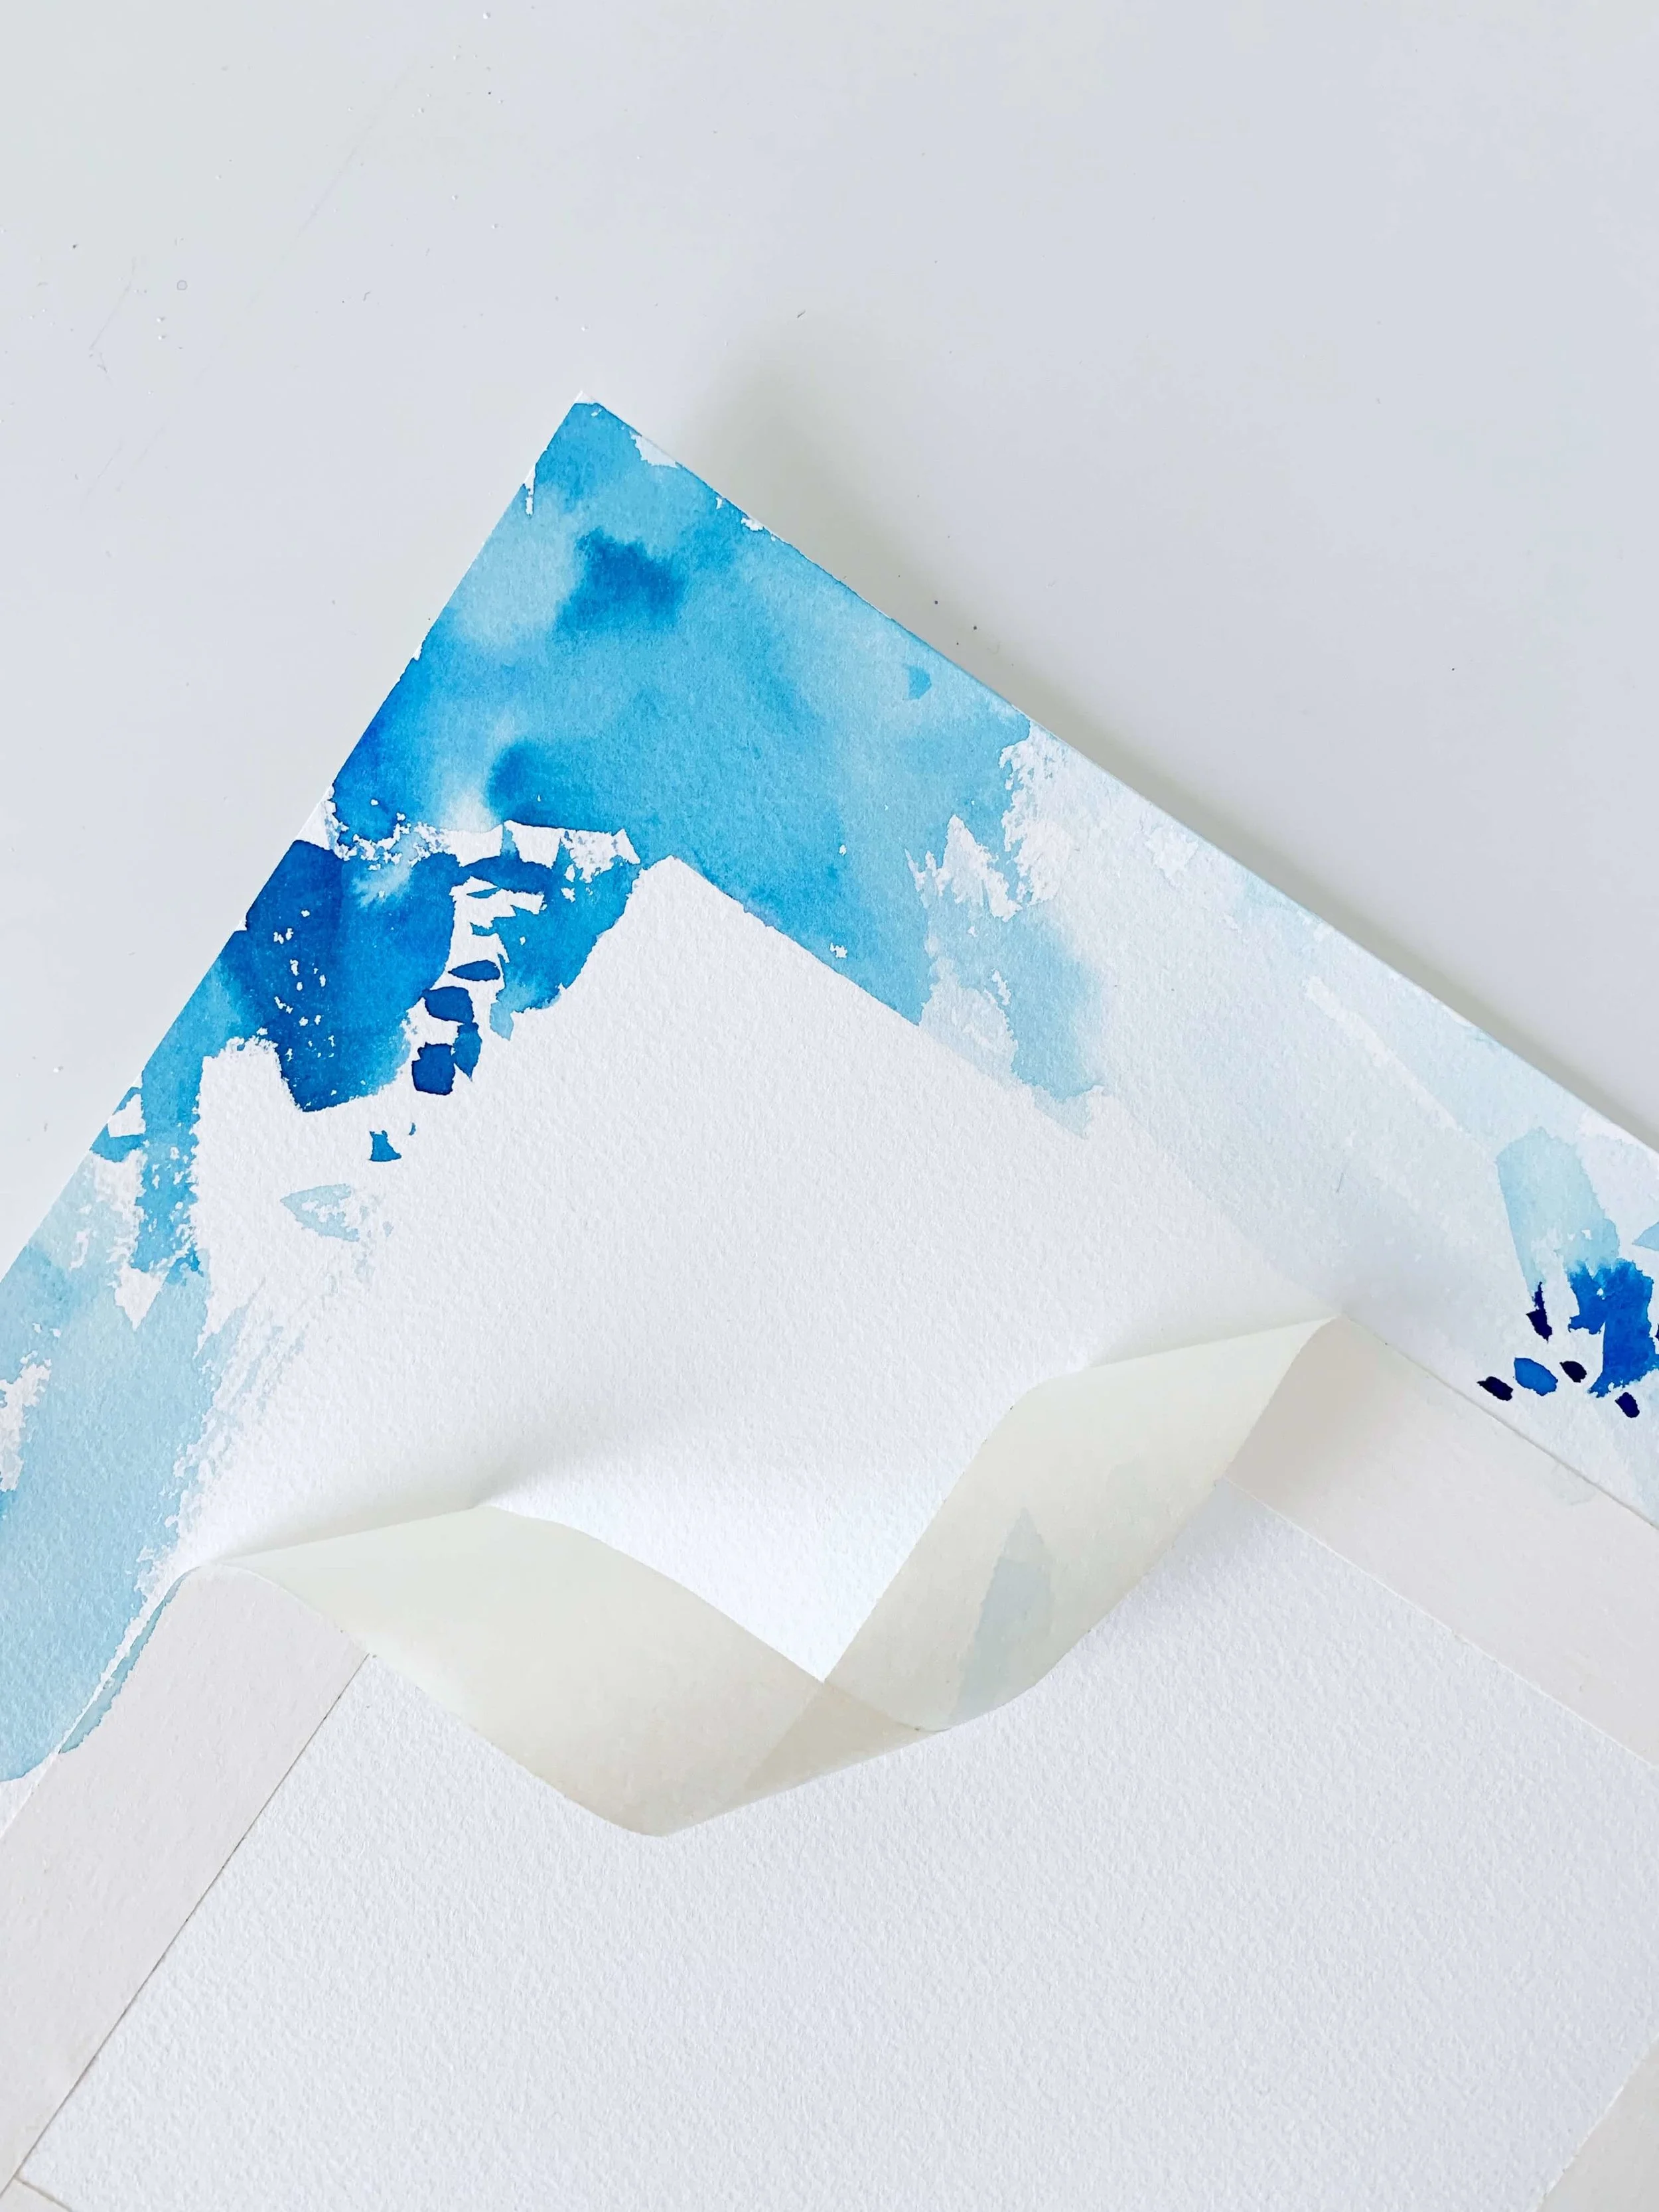
I went for an abstract approach using a mix of broad strokes, splatters, and dabs/dotsStep 5: Wait to dry + remove masking tape
Once the paint is completely dry, remove the tape (this part is so satisfying!)
Step 6: Flatten paper as required
You may need to flatten your sheets if they have warped from the water. Using a spray bottle, lightly mist the back of the paper evenly. Put it face down on another clean piece of paper under some heavy books and leave it for a few hours. Your paper should be nice and flat.
I also put together a time-lapse video of the painting process. Check out the YouTube video below to see how I painted each of the borders.
As always, thank you for reading. Hope you enjoyed this post!
Susan


